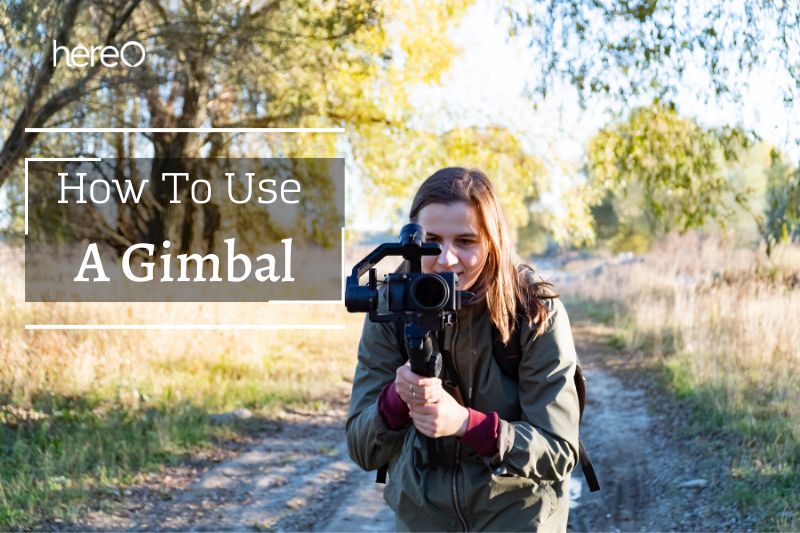
If you take videography and filmmaking seriously, you are aware of how important steady footage is. The ideal equipment for achieving this is a gimbal; with one, creating any cinematic shot is really simple.
But how to use a gimbal to help elevate your videography to the next level.
Contents
What is a gimbal?
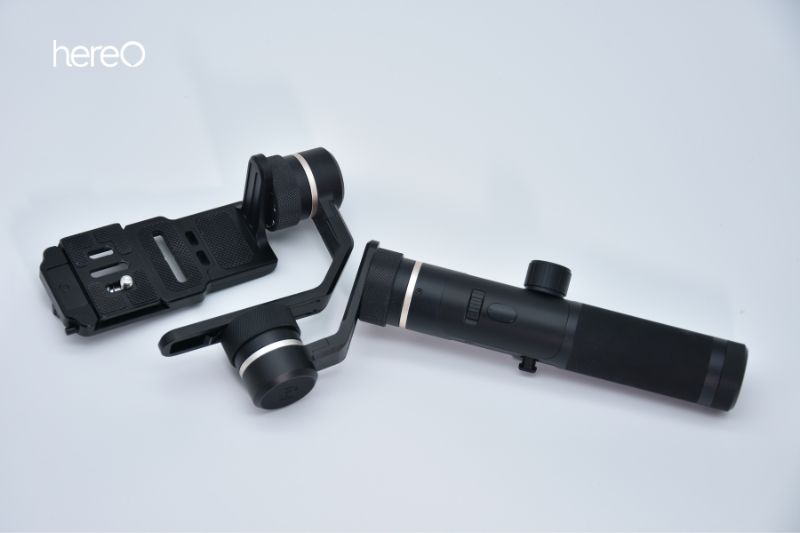
It’s common for videos taken with a handheld camera or on a phone to be a little wobbly. If you were stationary or taking a picture, a tripod would typically support and stabilize your camera using sensors and motors.
With the use of a gimbal, you can mount your camera or smartphone and tilt it freely in any direction while maintaining stability. Modern gimbals employ sophisticated electronics, sensors, and motors to eliminate all external motion and provide a steady platform for filming.
This results in motion-blur-free footage of moving objects even when the camera operator moves in step with the object. The stability of the video footage is a key component of professional video production.
How does a gimbal work?

The gimbal can distinguish between your deliberate movements and brief, unwelcome breaks, such as shakiness. The stabilizing motors in the gimbal, which are the same ones found in drones, ensure that this occurs and provide you with a result that appears really professional.
The three axes of a standard gimbal are pitch, yaw, and roll. The roll axis enables the capture of off-center angles for subjects, while the pitch axis refers to up and down movement, the yaw axis to horizontal movement from left to right.
How to use a gimbal

Anyone who has used a selfie stick will be familiar with the principles of using a gimbal. To prevent any vibration or shaking after you begin filming, the trick is to adjust and balance your camera before turning on your gimbal.
Check the battery life of your gimbal as well, and make sure it is completely charged before the shot. Nothing is worse than having a gimbal go to sleep in the middle of a fantastic photo!
Here are some gimbal tutorial for beginners
Dolly in/dolly out
To add depth, locate a subject for the foreground, tilt your camera to the left or right, and keep the background in view.
Tracking shot
Make sure the distance between the camera’s subject and the camera stays constant if you’re utilizing camera movements to create these motions. Otherwise, your video can appear to have been taken from a jump. Keep your subject in the center of the frame by following them at their speed.
Pan/tilt
With your gimbal, you can tilt or pan using your tripod. But a gimbal looks great and is considerably more user-friendly. You may alter the settings for the tripod head, the length of your tripod, and other things using a gimbal. To achieve such a shot, only little movements are required.
Crane shot
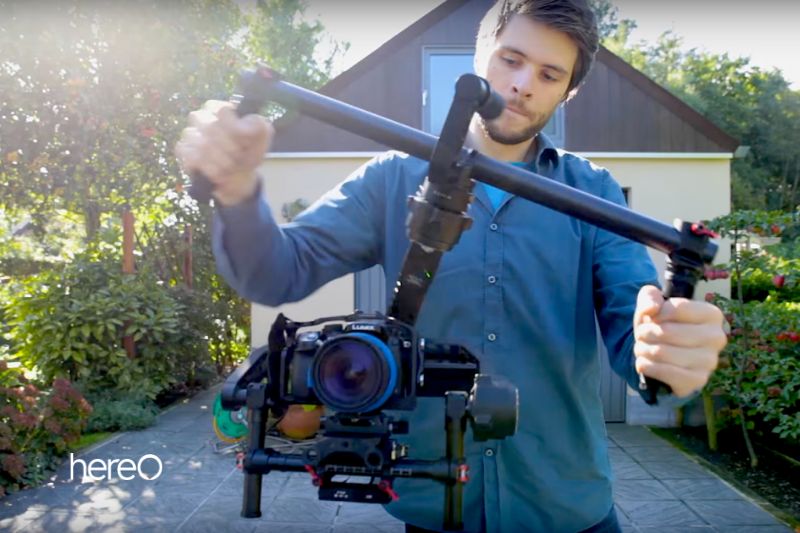
You may quickly change your perspective and go from low to high by using a crane shot. Get down on your knees, aim your gimbal at the target, and then gently raise yourself.
Pull back
It’s simple; just move backward! This picture is ideal for injecting some drama into scene endings or adding some flair to your shot transitions.
Drone shot
Simply move toward an edge, step forward, and reach out with the gimbal for a different drone shot that reveals an impressively vast area underneath you. Of course, be cautious and make sure the area is secure before you approach any ledges!
Fly through
Super simple—and super odd! Find a space where your camera and gimbal can fit, such as a window, bush, or cave (you have caverns, right?). Push your camera through the opening after that, then slowly draw it back. You have two shots here that you may utilize alone or simultaneously if you want to create something psychedelic.
Some Tips For Shooting With A Gimbal
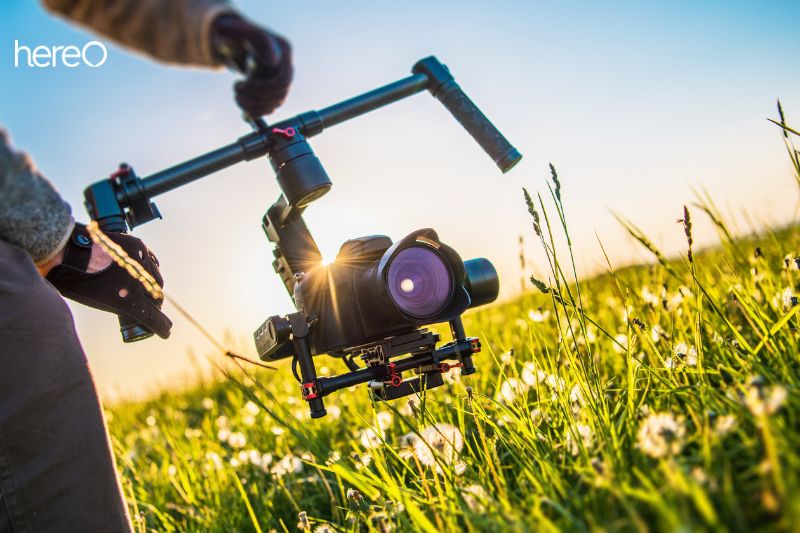
Create a shot plan. Plan beforehand before heading out with your gimbal to attempt to get one great shot after another.
Gimbals can give you an advantage, but you can also add motion to the pictures to give your movie a little more excitement.
Your photographs don’t have to be uninteresting. Background objects should be added.
It’s a good idea to move your gimbal close to your subject. A wall or the ground behind your subject might add drama to your video. For instance, move your gimbal in sync with your subject’s foot movements. After that, get closer to the ground and watch how the shot alters as a result.
Try to photograph your topic at low angles using an orbital or circular camera movement to give the scene a more commanding vibe.
How To Use A Gimbal In Sport Footage
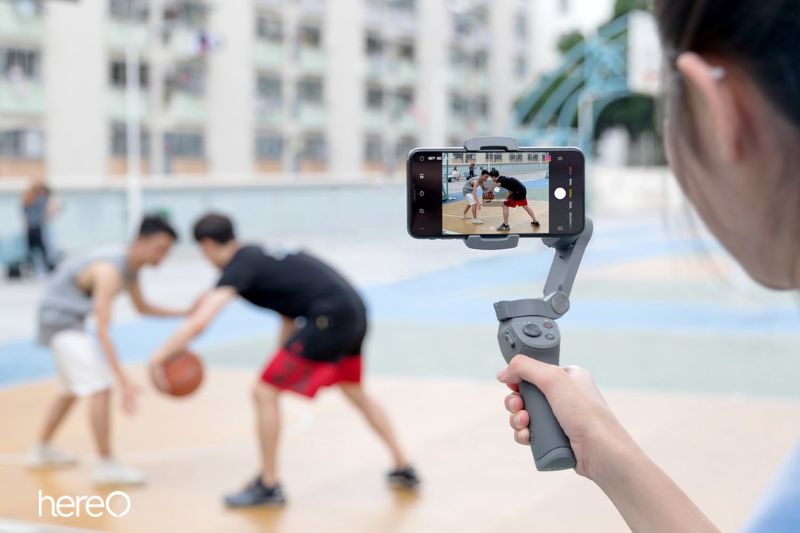
Stable, Dynamic Moving Shots
Keep your camera steady and in focus throughout the game in order to get the best sports footage. When photographing sports, a tripod cannot be used to maintain stability. You still desire to move, though. A great choice is a gimbal stabilizer.
To create a tripod with your body, utilize the gimbal on your phone or the GoPro gimbal. Standing still, turn your body in the same direction as your subject while pointing your camera in that direction.
Any sport that calls for the camera to focus on a moving object at a closer range can use this shot. a baseball or swimming player, for instance.
Parallax
Parallax shots revolve around the subject in the center of the frame in a 360° or 180° orbit. A gimbal can be used to record fluid video that displays the action from all sides.
This shot can be utilized in a variety of sports, but it works best in slower, indoor games like snooker or darts. Whether your subject is moving or not doesn’t matter. But if you are quite close to what you are capturing, this shot works great.
The Handover
The primary benefit of a video stabilizer is its size and weight. This enables you to switch the camera to a different operator mid-shot. In locations where it might be hard to shoot continuous, uninterrupted images otherwise, you can.
Parkour works best with this move. While the subject rolls, leaps, and jumps over obstacles, the operators can hold the stabilizers to one another while standing at various levels.
FAQs about how to use a gimbal

Is gimbal good for still photography?
Gimbals are useless for still photography. Instead, we steady the camera with a monopod, tripod, or selfie stick to reduce blur caused by shaking. While gimbals, whether worn, held, or flown, stabilize unstable motion picture shots.
How to use gimbal for DSLR?
A folding, flexible gimbal that costs $499 and works with a variety of DSLR cameras. It has a feature called ActiveTrack 3.0, which automatically tracks the subject using the source signal from your camera.
How to set up a gimbal?
Assemble the gimbal, lock the axis, and set it upright on a table with the foot attachment. Next, take any camera access weight off. Place the camera on a mounting plate after that. Once finished, place the camera and plate inside the gimbal. Although there are also drop-in versions available, the majority of contemporary ones need to be slid back from the front.
Conclusion
A gimbal is a great tool for anyone serious about videography and filmmaking. With a gimbal, you can easily create Steadicam shots that would otherwise be impossible. If you’re looking to take your videography to the next level, be sure to check out our guide on how to use a gimbal like a pro.
Thank you for reading this article about how to use a gimbal with HereOfamily!
