A sturdy tripod is a necessity when working with slow shutter speeds to reduce camera shake and take clear pictures. This is why a tripod is a really helpful piece of equipment for photographers. But not everyone knows how to use a tripod to get the best quality photos.
Contents
- 1 How To Use a Tripod For Photography
- 1.1 Find your composition first
- 1.2 How to setup a tripod? Point one of the tripod legs towards your subject
- 1.3 Keep the center post vertical and perpendicular to the ground
- 1.4 Avoid extending the center post
- 1.5 Getting the tripod level
- 1.6 Use an L-bracket for short lenses
- 1.7 Use a tripod collar for long lenses
- 1.8 Hang a camera bag or other heavy object from the center post for extra stability
- 2 How To Set Up a Tripod For a Portrait Photograph
- 3 How To Set Up a Tripod For a Landscape Photograph
- 4 FAQs about how to use a tripod
- 5 Conclusion
How To Use a Tripod For Photography

A tripod is useful in a variety of photographic situations, including shooting landscapes, studio portraits, and even wildlife.
You’ll be surprised by how frequently you use a tripod once you include one in your regular equipment. In addition, you’ll be able to experiment with other tools and photographic techniques, like using long exposures, that would be otherwise impossible.
Find your composition first
Finding your composition first, then worrying about the tripod, is a good idea because setting up a tripod takes some time. Walk around and investigate your topic from various perspectives.
When doing this, it might be helpful to look through your viewfinder to get a clear idea of how the composition will appear in a photograph.
How to setup a tripod? Point one of the tripod legs towards your subject

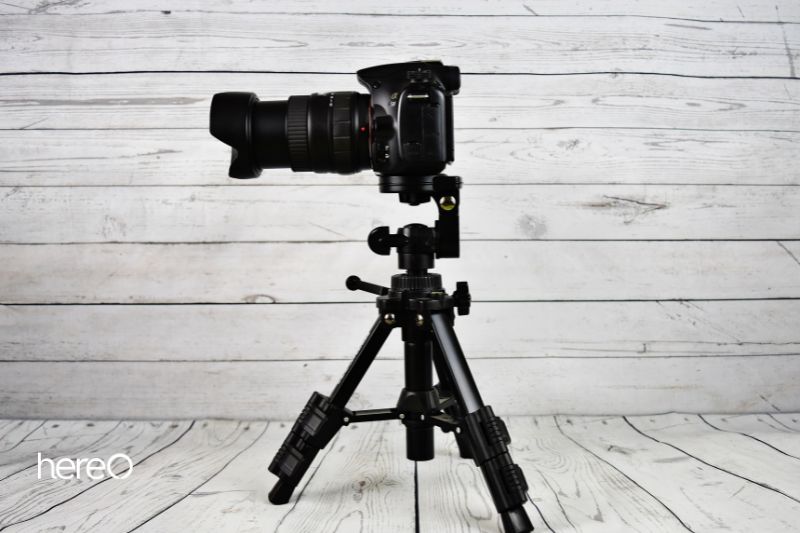
When the camera is pointed at the ground, pointing one of the tripod’s legs in that direction can help stabilize the camera even more by giving you space to stand between the other two legs and preventing you from tripping over the tripod.
Keep the center post vertical and perpendicular to the ground
Make sure the center post is vertical and perpendicular to the ground so that the weight of your camera is distributed evenly among all three legs.
You may level the tripod in this manner and see exactly when it is ready to use by using one of those bubble levels that attach to the middle post.
If they are not already included with your tripod, these bubble levels are often unique to each tripod model and cost less than $10.
Avoid extending the center post
Use the center post as a last choice because it is far less stable than the three legs spread out. Setting up your tripod to the ideal height will frequently be frustrating, but keep in mind that this will help you produce the finest image possible.
Getting the tripod level
You can use the bubble level found on the majority of contemporary tripods to determine which leg or legs need adjusting.
To level the tripod base plate body, start by adjusting the length of the bottom leg part. Your goal is to centralize the bubble level (this is the bubble level in the tripod body rather than the one built into the tripod head top-plate).
Use an L-bracket for short lenses
A unique form of plate called a “L” bracket is used to secure your camera to the tripod head. It has a “L” shape and enables portrait camera mounting while maintaining the camera’s position in the middle of the three legs.
Two major benefits of the L-bracket are that it keeps the center of gravity where the tripod can hold it best (in the middle of the three legs) and that it adds a few extra inches of height when shooting in portrait orientation (these few extra inches can really make or break a photo!).
Use a tripod collar for long lenses
It’s crucial to utilize a tripod collar that equally distributes the weight of your camera and lens since large, heavy lenses frequently cause your camera’s center of gravity to move.
Without one, you’ll undoubtedly observe how, after you lock the head into place, your camera has a propensity to gradually shift down.
Hang a camera bag or other heavy object from the center post for extra stability
Hanging anything (like a camera bag) from the center post of your tripod could give weight to it if you find yourself in particularly windy conditions. Many tripods come with built-in hooks, but if yours doesn’t, check if you can just screw a hook from a hardware shop in.
But use caution with this technique, as you can actually lose stability if your camera bag is moving around a lot in the wind and bumping into the tripod legs.
How To Set Up a Tripod For a Portrait Photograph

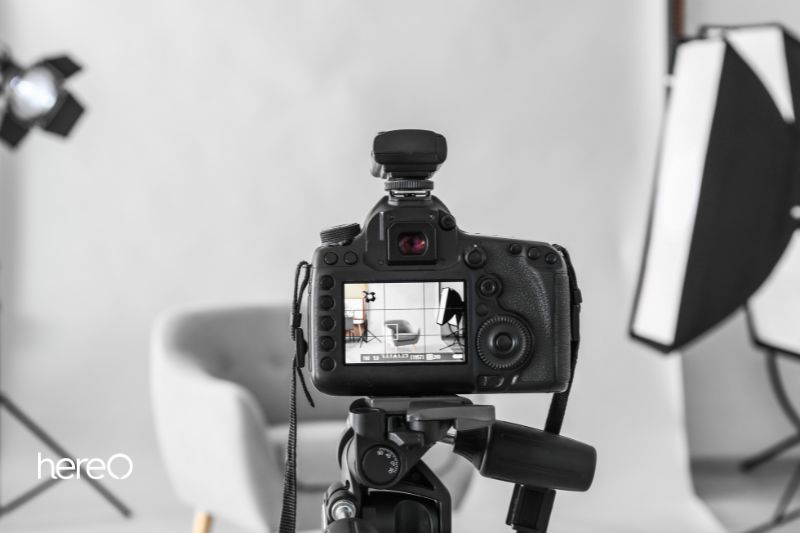
Select an appropriate tripod head
The first and most important step in assembling a tripod for portrait photography is choosing the right tripod head. You should determine if the tripod’s head is designed for portrait shooting.
The picture quality will be improved with an associated light source by cutting down on deviations.
Change the speed and set the tripod on its axis
Setting the tripod on its axis will make taking pictures from various angles easier, but especially when using a digital camera, you must be quite certain of the camera’s location.
The speed of the camera will increase after it is in the proper position, which will aid in producing image files in the JPEG, 3 GD, and JPG formats.
Use some other lenses for portrait photo shoot
Trying a different lens is a smart move for the portrait photography session. The camera must be facing the lens at all times. In addition, move the camera toward the outside of the photo shoot while maintaining control of the controls.
Focus the camera
Make sure your camera is sharply focused on the scene you wish to photograph before setting the tripod on its axis. It’s crucial to capture the entire scenario differently from a typical photo shoot while doing a career photograph.
Set the camera to auto-focus mode
In a portrait, the main objective is to draw attention to the dominant personality in the surrounding environment. Therefore, you should set your camera to the auto-focus mode so that it always focuses on the subject when you set it.
Make the composition correct for the pictures
It is essential to adjust the entire composition while taking portrait photos, and it is important to utilize a digital photo frame that sets apart portrait photography from other genres. Additionally, align the tripod’s proper axis, which will enable you to take images from various perspectives.
How To Set Up a Tripod For a Landscape Photograph

Plan your shoot
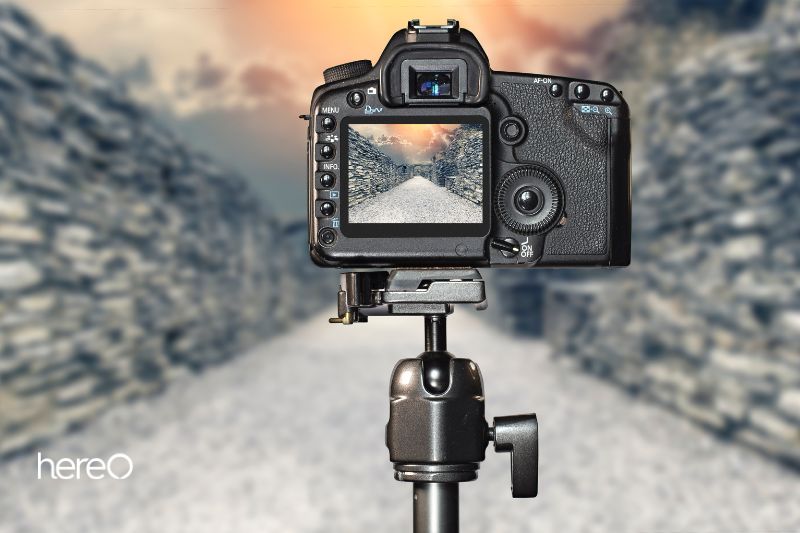
Planning a landscape photography trip has the benefit that a lot of the work can be done in advance. From the comfort of your home, you can do research on the location and even look up potential locations online.
Arrive early on the day of the shoot so you have time to look around and envision the photo you want to get. As you stroll, make a note of any foreground objects or specific landscapes that pique your interest.
Look around at your surroundings and be on the lookout for anything that can make a good topic. It should be distinctive without looking utterly out of place.
A single object, like a rock or a stick, could serve as your topic. Your acquaintance or maybe you might be the culprit. Even multiple subjects, like a mountain and a lake, could be included in the same frame.
Once you’ve decided on a subject, look around you for additional compositional elements you could use. Look for shapes, colors, lines, curves, textures, patterns, and patterns that might help your composition.
Start positioning these compositional elements in your mind’s eye so that they draw the viewer’s attention to the subject or highlight it. Analyze how the background affects or interacts with your subject.
If the composition is off, try looking at the subject from various angles. To obtain a variety of alternative viewpoints, move around, stoop down, and stand up.
Setting up your tripod
You’ll start to construct a rough composition in your thoughts as you wander around. This will enable you to position your camera where you want it to be for your shot.
Find the ideal shooting angle by taking a few test pictures with your hands.
Grab your tripod and set it up when the ideal angle for your photograph presents itself. Secure your camera on the tripod head after adjusting it for height.
The tripod head can then be adjusted further until the camera is positioned at the ideal height and angle for your photo.
Camera setting
You have the option of shooting in Manual or Aperture Priority mode when taking landscape photos in daylight. When you choose Aperture Priority, your camera will choose the best shutter speed to use if you have an aperture and ISO that you want to stick to.
On the other hand, set the shooting mode to Manual if you want complete control over the aperture, shutter speed, and ISO.
Either Manual or Bulb should be selected as the shooting mode for nighttime landscape photography.
With a digital camera, you must inevitably change the white balance if you are shooting in RAW. A preset setting, such as overcast or incandescent, or Auto should be used.
Set the white balance to roughly what you’re looking for in terms of the degree of coolness or warmth if you’re going for a specific aesthetic.
The focus on your lens needs to be set up next. Generally speaking, you want the most crucial aspect of your subject to be the sharpest in order to direct the viewer’s attention to it.
Choose the aperture at this point. Consider how much of the scene you would like to be in focus when deciding the aperture value to utilize.
By widening the aperture, you’ll be letting a lot more light reach the camera’s sensor. You might get a darker exposure if you close the aperture since less light will be able to pass through.
FAQs about how to use a tripod

How do you use a tripod for beginners?
Extending the legs is the first step in correctly assembling a tripod. The optimum method is to constantly stretch from the top down rather than from the bottom leg portion up, though.
What is the main use of a tripod stand?
In order to keep the camera steady and prevent movement, tripods are used in both motion and still photography. They are especially important when using telephoto lenses or slow shutter speeds because any camera shake while the shutter is open will result in blurry images.
When should you shoot with a tripod?
Using a tripod is the best way to ensure you maintain the composition exactly the same between frames when you want to shoot multiple frames at various exposure settings, such as for high-dynamic range (HDR) images.
It also enables you to shoot panoramas with each component shot on the same plane.
Conclusion
If you’re interested in taking your photography to the next level, investing in a tripod is a great place to start. With a little practice, you’ll be able to take clear, sharp photos even with slow shutter speeds.
Thank you for reading this article from HereOfamily. We hope you enjoy reading.
