It makes no difference if you are producing audiovisual content for social media, podcasting, or performing live on stage at an event. If you’re going to use your microphone, you need the greatest sound possible. So, how to make microphone sound better.
Contents
How to Make Microphone Sound Better

Turn off noisy things in the room
The majority of us have a tendency to dismiss and ignore the background noises in our homes automatically because of the way our brains operate. But microphones, especially condenser microphones, are usually very good at picking them up.
Background noise can detract viewers, make what you’re saying difficult to understand, and generally make it harder to watch your video. It’s crucial that you eliminate as many sources of noise as you can because of this.
If there are other people living with you, shut the door and shut the windows to ensure that no outside noises are coming in. Any fans or air conditioners that may be running in your room should be turned off.
Remember that whether you feel comfortable or not, your audience is interested in what you have to say, therefore your goal should be to make it as simple as possible for them to comprehend you.
The ideal way to provide your audience with the highest-quality audio is to keep the noise level in the room as low as you can. We’ll talk about digital ways to remove background noise in a future post, but such typically tend to damage voice quality and make you seem tinny and robotic.
Changing the Gain Level
Gain is only the amount by which you raise or lower the output signal of your microphone. The best gain setting is just about moderate; a high gain setting can lead to more echo. The ideal setting to get rid of echo and background noise is therefore roughly medium.
Either via software or directly through the microphone, you can adjust the gain. For clarification, consult the user handbook for the microphone.
Set your microphone input levels to around 75%
This step pretty much speaks for itself. We won’t be able to properly hear what you’re saying if you have the input levels too low.
However, if they are cranked up too loud, distortion sets in, making it impossible for us to understand what is being said. So try to achieve around 75% and see how it goes! This general principle applies to speakers, headphones, recorders, etc.
To avoid distortion, you should generally stay between 70 and 80 percent of the maximum input and output.
Keep the microphone off your desk or any moving objects

If your microphone is in contact with anything, it can pick up even the most minute sounds, such as the surface of your cardigan brushing against it or your chair swaying. The mic picks up all of the keyboard and mouse noises, which is a common issue for PC streamers or gamers.
The same applies to any additional items that might be able to move about and produce noise (like cables). Therefore, make an effort to keep them away from anything that can potentially interfere with recording sessions.
To do this, you can either place the microphone away from your desk or utilize a microphone arm or clamp, as long as it’s still at the required distance. These are quite affordable and readily available online. So there’s no need to worry about spending too much money here.
Make sure you’re using the right side of the microphone
At first, this may seem absurd, but you must remember that there are two types of microphones: top-address microphones and side-address microphones. In the former, you must speak into the microphone’s top, whereas in the latter, you must speak into the microphone’s side.
The iconic Blue Yeti is a side address microphone, which means that speaking into its front rather than its top will make your voice seem louder, clearer, and more distinct. It is by far the most popular microphone among YouTubers and Twitch Streamers.
You have undoubtedly seen the Shure SM7B before if you regularly watch streamers and YouTubers. This is a front-address mic, so rather than merely being in front of someone’s face, you’ll typically see it pointed at their mouth.
If you’re unsure whether your microphone is front- or side-address, you can check the user manual or search for the make and model online because the details should be readily available.
You can experiment with talking into different sides of the microphone to identify whether it is front- or side-address if you don’t know anything about it that might aid in your search.
Keeping the Right Distance
It’s crucial to consider your posture when speaking into the microphone. When attempting to sound better, the distance between you and the microphone is really important.
While being too close to the microphone can cause it to pick up sounds like breathing and other noises, being further away from it results in really low speech levels.
Start by stepping back 10 inches from the microphone and then assess the sound quality. Then, make adjustments based on the outcomes and the desired effect.
Your voice on the microphone may sound weak and distant if you are closer than 10 to 12 inches away from it, which will result in poor audio quality.
How to Stop Microphone Popping

Use A Pop Filter
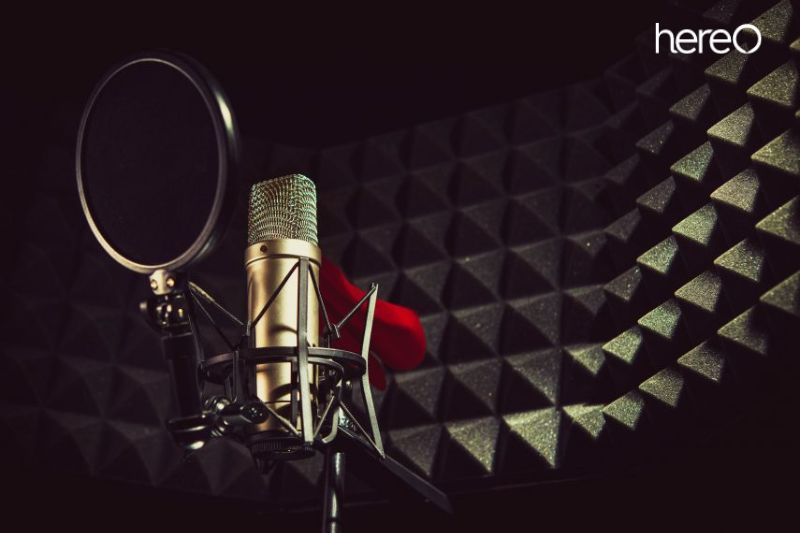
A pop filter placed between the speaker or vocalist and the microphone will diffuse plosive energy before it reaches the microphone diaphragm.
Pop filters serve as a plosive barrier for microphones and are often comprised of metal or nylon mesh.
The likelihood of plosive pops in the mic signal can be greatly decreased by placing a pop filter a few inches away from the microphone and in between the mic and the performer. The most effective way to lessen pops is frequently this.
Holding your hand behind the pop filter and blowing or making plosive noises toward it (the “Pa-Pa-Pa” method works well) will help you determine how far away the pop filter is.
When you can barely feel the plosive energy, move your palm away from the filter. This is probably your ideal mic-to-pop-filter distance.
Use the bass-cut on your microphone
A few additional switches are included on the body of many more professional microphones. This could be a low-cut switch, an on-off switch, a pad (to lower the output signal), or a switch to alter the polar pattern. In your fight against audio popping, you want to employ the last of these.
The low-frequency portion of the sound spectrum is where plosives have the majority of their energy. Cut those low-frequency sounds to lessen or completely stop the audio pops. The low-cut switch is useful in this situation.
If you’re unsure whether your microphone has a low-cut switch, search for one that has a symbol of a rising line followed by a flat top.
An ideal frequency response graph would look like this, with the lower frequencies rolling off to the left. If you come across a switch with this sign, simply slide it in the direction of the symbol to cut or roll off the low frequencies.
Distance Yourself From The Microphone

The sound waves from your mouth travel farther to the microphone when you are farther away from it. The intensity of the sound wave and the plosive energy are both decreased by the additional distance. Plosive pops in a mic signal will be lessened and frequently eliminated by weaker plosive energy.
Plosive energy “blasts” gradually lose power as they leave the lips and eventually vanish entirely. Actually, the rate of intensity decrease is rather rapid.
As a result, moving merely a few inches away from a microphone can significantly minimize or even completely remove the voice plosives that cause mic pops.
You can use the blowing/plosive test indicated above to verify this. Make plosive noises in the direction of your hand until you feel the energy has been sufficiently dissipated. The microphone position is probably best at this distance as a starting point.
Speaking across and not into the microphone
Basically, try to avoid talking into the microphone because your plosive breath blasts will be aimed directly at the diaphragm of the microphone.
In front of you, your voice may be heard echoing in all directions. Consequently, if you slightly tilt your head to the side as though you are gazing just past the microphone Now, those plosive blasts won’t damage your Ps and Bs because they won’t hit the microphone’s diaphragm.
You could also reposition your microphone. Place the microphone above you and tilt it up just a little so that it is at an angle of roughly 45 degrees to you. Again, the end result is that you will be speaking past the microphone’s front, preventing wind blasts from damaging the mic’s diaphragm.
FAQs about How to Make Microphone Sound Better

How to make my mic sound better on pc?
When using a microphone, make sure that it is connected properly and set up correctly. This includes ensuring all wires are connected, the mic is in the right position, and at the right distance from your mouth.
How to make headset mic sound better?
If you want to make your headset microphone sound better, there are a few simple steps you can take. First, invest in a quality headset microphone. Having a good quality mic will help ensure that you are capturing the best sound possible.
Next, make sure to position your headset microphone correctly. The mic should be placed near your mouth and angled slightly upward. This will help focus the sound and reduce any echo or reverberation.
Finally, experiment with different EQ settings to find the best sound for your microphone. Adjusting the EQ settings
Conclusion
The best way to make your microphone sound better is by investing in quality equipment and taking the time to properly set it up. With the right tools and knowledge, you can get the most out of your mic and ensure that you always sound your best.
Thank you for reading. HereOfamily hope you enjoy reading this article.
