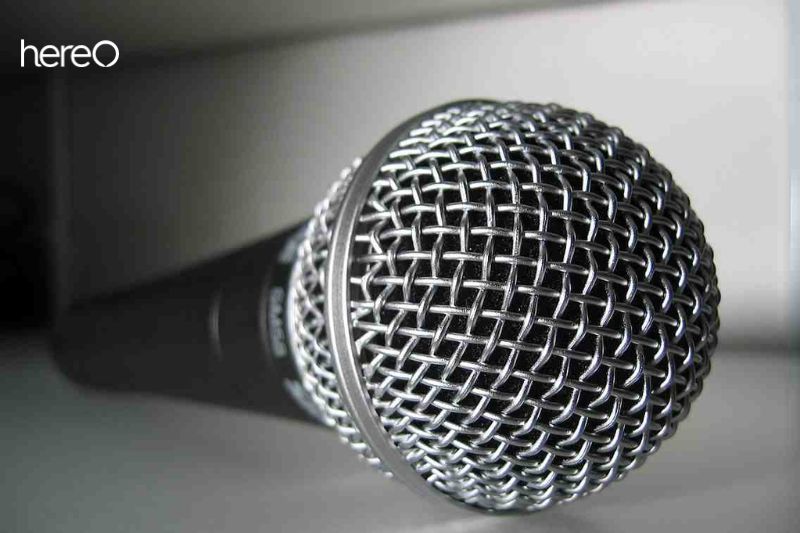
A microphone can be a perfect place for bacteria to grow. For people who use microphones frequently, knowing how to clean them properly is crucial. So, how to clean microphone properly.
Contents
Why Should I Clean a Microphone?

These tools can get very filthy because we speak into microphones and our mouths easily spread germs. Handheld microphones are another item that are routinely shared, utilized, and held by various individuals.
For handheld voice microphones, the ideal positioning is so that the microphone is right up against or even on the singer’s lips or face. It follows that the microphone grill and underlying foam filter are quickly contaminated by saliva, mucus, and other bodily fluids.
A buildup will occur on your microphone if you don’t clean it frequently. Open the top component of your audio equipment and peek inside to see if there is a build-up there.
If you decide to ignore this accumulation over and over again, the particles will keep gathering and your device’s sound may start to become muddled.
Remember that there is no right or wrong way to clean your gadget as long as you give it a thorough cleaning as frequently as you can. You can get ideas from the cleaning instructions I’ve provided below for two common gadget types, dynamic and condenser microphones.
Cleaning Dynamic Microphones

The vast majority of people who utilize microphones assert that dynamic microphones are the simplest to maintain. Cleaning dynamic microphones is generally not too difficult because most of them include a grille that is relatively simple to unscrew and separate from the device’s body.
Things to Prepare
- Dish soap
- A toothbrush
- Clean wipes
- A paper towel roll
What to Avoid
- Don’t use any bleach containing cleaning products.
- Avoid hydrogen peroxide.
- Don’t use hand sanitizers.
- Do not clean the device with tools that can be excessively harsh on it, including a scouring pad or scrub brush.
- Try and prevent using water that is too hot. The best is warm water.
- To prevent rust, don’t reassemble the device before it is completely dry.
How to Clean a Dynamic Mic
Remove the Grille
The grille must first be carefully removed from the device’s body. With a good twist and unscrewing, it should come off without any trouble. Use moderate force; otherwise, you risk irreversibly damaging the gadget.
Once the grille has been effectively separated, take out the foam windscreen as well. You can start noticing spit buildup on the foam windshield and lipstick, grime, and saliva buildup on the grille.
Wash the Grille
Use the toothbrush to apply warm water and dishwashing liquid next. Start cleaning the device’s grille to remove any buildup. Be careful, and be sure to reach all the corners and edges.
Dry the Grille
Before reattaching the grille to the device, completely dry it using paper towels. If you don’t make sure it’s completely dried, the object can rust. If you have the extra time, you can also use air drying.
Wash the Windscreen
You must now repeatedly wash the foam windshield with water and washing detergent until you are certain that all buildup has been removed. Again, you must make sure the foam windshield is completely dry before reinstalling it on the apparatus. If you need it to dry rapidly, I’d suggest using a blow dryer or letting it air dry overnight.
Clean the Mic Body
If you need to quickly clean your dynamic audio equipment in between uses by different users, use watered-down mouthwash. To guarantee that all debris falls out while cleaning the grille, keep the gadget upside down.
Although this cleaning won’t be thorough, it will at least guarantee that the equipment is ready for the next user to use.
Cleaning Condenser Microphones

Things to Prepare
- A toothbrush
- Disinfectant wipes
- Paper towel roll
- Dish soap
How to Clean a Condenser Microphone
Remove the Grille
If you can, carefully separate the grille from the device’s body. It could be laborious and require taking out screws. Make sure the equipment itself never comes into contact with any liquids or water. Even a small bit of moisture might permanently harm the gadget.
Wash the Grille
If the device’s grille can be removed, remove the windscreen as well. Just as you would for the dynamic device, start cleaning the grille with a toothbrush and washing solutions.
Concentrate on removing any buildup that may be present on the grille by using warm water. Look for any hidden particles in the borders and corners as well.
If the grille cannot be removed from the device, carefully scrape it with a dry toothbrush. Holding the device upside down will allow any debris to fall to the ground.
Avoid forcing dirt or toothbrush bristles through the grille because doing so will cause them to become caught in the chamber indefinitely.
Dry the Grille
If your device has a removable grille that you were able to wash, make sure it is totally dry before reinserting it.
This is a very important step since a condenser device will be severely harmed by a moist grille. To make sure it is completely dry, you can use a paper towel, but I also advise using a hair dryer or letting it air dry.
Wash the Windscreen
Once you’re certain that all of the buildup has been eliminated, you should start washing the windscreen using water and washing detergent.
As previously said, before reinstalling the windscreen on the device, you must ensure that it is totally dry. This has major significance. The best method for drying the windscreen is to let it air dry overnight or use a hair dryer.
Clean the Mic Body
To clean and disinfect the device’s body, use the surface cleaner wipes. I would advise utilizing removable external foam windscreens that can be quickly and easily washed with soap and water if there are numerous people using the same condenser device and you are unable to clean it after each usage.
By utilizing them, you may clean and replace the windscreens, ensuring that the audio equipment is shielded from dirt and bacteria.
However, it is crucial to keep in mind that water cannot even touch a condenser microphone, hence it is crucial to always make sure that the detachable external foam windscreen is absolutely dry.
FAQs about How to Clean Microphone

How do you clean a dirty mic?
Use a cloth lightly dampened with an isopropyl alcohol and water solution to wipe off the surface. Make sure that the microphone membrane doesn’t come into contact with any isopropyl alcohol.
Can you use Clorox wipes on a microphone?
Using Clorox wipes on a microphone is not recommended as they can leave behind a residue which may damage the microphone. The best way to clean a microphone is to use a soft, lint-free cloth and a mild soap and water solution.
How to clean a wireless microphone?
To get started, turn off the microphone and remove the batteries. Then, use a soft, lint-free cloth to wipe down the entire mic, including the head, body, and any other parts. For tougher dirt and grime, you can use a mild detergent and warm water. But be sure to completely dry the microphone afterwards.
Conclusion
It is important to keep your microphones clean and disinfected in order to protect yourself and others from the spread of any germs or bacteria. With a few simple steps, you can ensure that your microphone remains free from any potential harm.
Thank you for reading. HereOfamily hope you enjoy reading this article.
