In any situation when there is a speaker and a mic, a microphone may produce feedback, a very intrusive and unpleasant high pitch sound. So, what causes microphone feedback, and what are the solutions?
Contents
What Is Microphone Feedback?

Microphone feedback is a loud screeching noise that happens when an audio loop is created between a microphone and speakers. This loop occurs when the microphone picks up sound from the speakers, amplifies it, and sent back to the speakers again, creating a feedback loop that causes the screeching noise.
Microphone feedback can be caused by several different factors, such as having the microphone too close to the speakers, using too much gain on the microphone, or using a low-quality microphone.
In order to prevent this feedback, it is essential to ensure that your microphone is not positioned too close to the speakers and to use the appropriate amount of gain for the microphone.
Additionally, using high-quality microphones and setting up the sound system properly can help reduce or even eliminate microphone feedback. Taking these steps can help ensure that you don’t experience any unwanted screeching noises.
What Causes Microphone Feedback

Mic Placement
Audio feedback is frequently caused by microphones being positioned in front of or too close to loudspeakers. It is nearly a given that feedback will occur if loudspeakers are positioned in front of the microphone because the microphone will pick up any sound that comes out of the speaker, creating a feedback loop.
Another potential cause of feedback is placing a microphone next to a loudspeaker because sound can bounce about until it is picked up by a microphone and re-enters the sound system.
Loudspeaker and Monitor Placement
The location of speakers and monitors is another factor that contributes to feedback. A loudspeaker’s dispersion angles can vary, but the norm is for them to be 90 degrees horizontally and 60 degrees vertically.
It is possible for any microphone situated in that dispersion area to experience feedback. To ensure that your audience can hear everything, you should cover as much ground as you can while putting up a sound system.
It is essential to position the loudspeakers precisely at this point in order to maximize coverage while avoiding the mic’s pickup pattern. Make sure to avoid the speaker’s dispersion region while placing microphones on stage.
The Type of Microphone
Depending on the sort of microphone you employ, feedback may occur. For live performances, there are various microphone types available, including dynamic, condenser, ribbon, etc. Some are more sensitive than others, and each has its own unique sound properties.
For live vocal performances, employing condenser mics is the best option because they deliver studio-quality sound yet are far more sensitive to sound. Due to their sensitivity, placement is essential for reducing feedback while using this kind of mic.
Polar Pattern
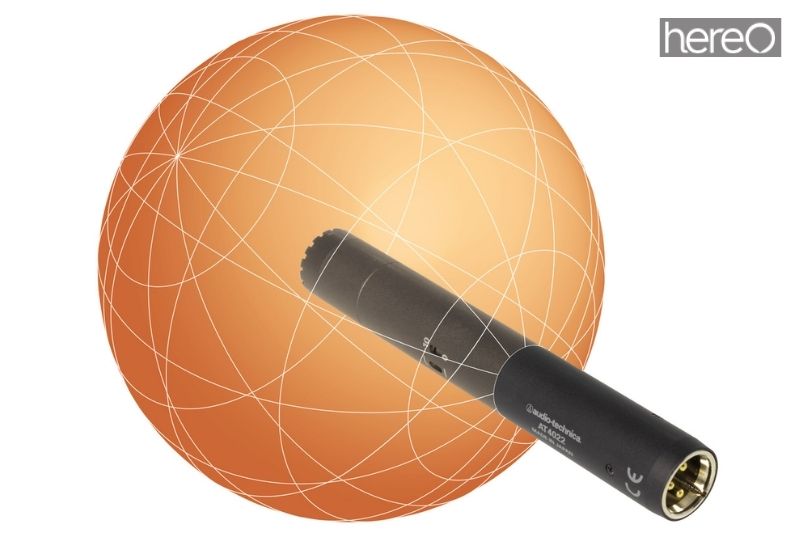
Another potential cause of feedback is picking the improper polar pattern for your microphone. The graphic representation of a microphone’s polar pattern shows how well it can capture sound coming from various directions.
Cardioid, super-cardioid, and hyper-cardioid polar patterns are advised for live performances. This results in a substantially lower sensitivity to feedback because these mics pick up more sound at the front and less in the rear and sides.
Solution
Make sure the mics you use on stage have one of the polar patterns listed above. With regard to condenser mics in particular, I advise utilizing cardioid and super-cardioid.
Equalization of the Microphone
Depending on the microphone’s loudness, different frequencies are where feedback occurs. You can quickly identify the offending frequency if the feedback is a low rumble or a high pitch noise.
The problematic frequencies are typically found in the ranges of 250Hz to 2kHz and 2kHz to 8kHz. Rarely does it occur over 8 kHz.
This is where properly adjusting the levels of each microphone is useful. Offending frequencies can be ringed out by performing a few sound tests.
Amount of Open Microphones
Feedback becomes more likely exponentially as more microphones are open (On). This is due to the possibility of more sound being caught up and feeding back into the system, producing a feedback loop.
The Acoustics of the Room
The acoustics of the space or event hall is another aspect that influences feedback from microphones. Even if you have complied with every recommendation in this post, sound from the loudspeaker may still reverberate and strike the membrane of the microphone.
You would need to pay close attention to your EQ and volume levels because the only factor that is out of your control is the room’s acoustics.
Solutions to Microphone Feedback Problem

Point Microphones Away From Loudspeakers
Placing all open mics behind the loudspeakers will assist in lessening the likelihood of feedback. Just be sure there is enough space between the microphone and the speakers.
The volume for that channel can be boosted by 6dB if the distance between the microphone and the speaker is doubled, according to a rule of thumb that is frequently employed by sound engineers. This gives you greater volume headroom before feedback on that channel.
Make sure you give yourself enough time while putting up your microphones to experiment with different positions until you obtain the best results. It will get simpler as you have more experience and learn how your sound equipment behaves.
Turn The Volume Down
The audience should be as near to the primary loudspeakers as possible. You can lower the mixer’s volume in this manner. If you’re utilizing cardioid or super-cardioid microphones, position the monitors directly behind the mics on stage.
If the audience’s distance from the main speakers is cut in half while maintaining a constant volume, the audience will perceive a 6dB increase in volume. In other words, a 6dB increase in sound volume results from doubling the distance between speakers and listeners.
Try moving the speaker toward the crowd if you are in a position where microphones can feedback, but you still don’t have the volume you need. In this manner, the sensed sound level rises without actually raising the mixer’s loudness.
Another option is to use in-ear monitoring systems, which eliminate the need for stage monitors entirely and drastically lower the likelihood of feedback. The only drawback is that in-ear monitoring systems are frequently pricey, but if you can afford them, I strongly suggest it.
Microphones Close To Sound Sources
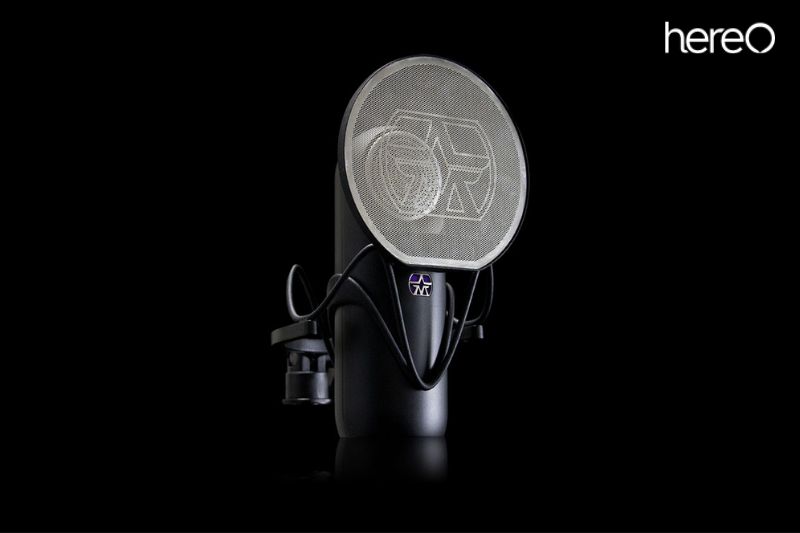
Feedback can be greatly reduced by placing directional microphones close to the sounds they are intended to capture.
The quality of the microphone signal improves with proximity to the sound source. Therefore, less gain is required in order to hear the source, vocal, or instrument. In addition to improving signal-to-noise ratio, this also lessens sound coming from the microphone’s speakers.
Change The Frequency
If you hear a low rumble as the feedback noise, try lowering frequencies between 250 kHz and 1 kHz. Try adjusting the frequency between 2kHz and 8kHz if the feedback sounds like a high-pitched shriek.
If necessary, repeat this test numerous times until you can raise the volume of your entire system without receiving any feedback.
Your ears must be trained to recognize the frequency that is causing the issue in order to complete this process. You can purchase equipment that will perform this automatically without the use of a graphic equalizer. Auto-feedback reducers are what they are known as.
These devices employ a microprocessor, which has the ability to recognize offensive frequencies and instantly cut them before feedback even occurs. They are useful if you have a lot of microphones on stage and don’t want to bother with checking problematic frequencies or if your ears aren’t trained to spot them right away.
Even though an automatic feedback reducer can be very beneficial in eliminating feedback, you still risk receiving it if you use the incorrect microphone, set your speakers in the incorrect location, or host your event in a space with poor acoustics.
There are some locations where the acoustics are just bad, and there is not much you can do about it, regardless of how skilled an audio engineer you are or whether you have feedback reducers.
When the acoustics are bad, you have to keep a close eye on your mixer during the event to catch any feedback. This is not ideal, stressful, or enjoyable at all.
Use The Right Microphone
Condenser mics, for example, should be used sparingly on stage and solely for lead and supporting vocals. If at all possible, use dynamic mics when recording instruments.
If it’s necessary to mic acoustic guitars, position the microphone as near to the instrument as you can. In this manner, it picks up more of the guitar’s sound and less of the outside environment.
Use electro-acoustic guitars with built-in piezoelectric microphones if at all possible. By doing this, you can record acoustic instruments with less open-air microphones.
Use the mute button on your mixer to just leave the necessary microphones on, but make sure to keep an eye on things so you can switch on the necessary microphones as necessary.
Tune Out The Room’s Resonant Frequencies
An automatic feedback reducer can be quite useful in these circumstances since it can be quicker to identify troublesome frequencies before they spiral out of control.
If you don’t have a feedback reducer, consider putting all of the microphones as far away from the speakers as you can and the primary speakers closer to the audience. Maintain a reasonable volume level and keep an eye out for any potential response.
Use cardioid or super-cardioid microphones, and turn off any extra microphones.
Before the event, run a number of tests to determine your maximum volume headroom. Once you know it, don’t exceed it.
FAQs about What Causes Microphone Feedback

How to stop microphone feedback on a headset?
Adjust the microphone volume levels to ensure that the microphone is not set too high. Additionally, you may want to switch to a lower sensitivity setting. This will help prevent the microphone from picking up too much sound.
Can feedback break a mic?
No, yelling or screaming into your mic won’t shatter or harm it because mics can withstand high amounts of sound pressure.
Should you keep foam on a mic?
You should never skip using the foam, especially when you record outside.
What causes static feedback?
The most frequent causes of audio feedback are incorrect hardware installation or incorrect software configuration.
Conclusion
Microphone feedback is an unfortunate reality of audio production, but with the right knowledge and tools, it can be avoided. Learning to recognize the signs of potential microphone feedback before it happens and having the right equipment on hand are essential steps in combating this issue.
With a little effort, you can ensure that your next event will be free of any unpleasant feedback and you can focus on providing the best sound possible for your audience.
Thank you for reading this article from hereOfamily.
